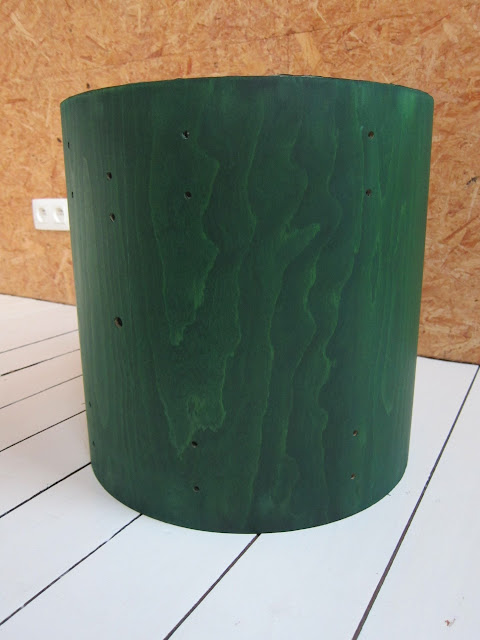
This natural product has many advantages:
- Inexpensive when bought in flakes
- Durable (you just mix the quantity you need, the dry flakes can be stored forever)
- Non toxic, it's just alcohol and "bug resin", it's actually edible !
- Easy to apply
- Warms up the color tone (water-based poly is very "white")
- Has some grain filling properties
- 3785 ml of alcohol (one gallon) with 907 grams (2 pounds) of shellac
- 417 ml of alcohol with 100 grams of shellac
Preparing is pretty simple, it's basically pouring alcohol into the container, adding the flakes and putting the container in hot water, stirring occasionally.
After letting it sit overnight, it's now perfectly mixed, with no flakes remaining
 |
| Took this picture later, I've used already 50%. |
Important notice: shellac goes bad after some time, it won't dry hard, rather gummy. So don't mix too much at once, and make it just before starting to work.
I applied the first coat of shellac using a flat brush. It's easy to apply because shellac isn't very thick and flows easily.
And the effect is wow. It really brings out the stained wood tone, adding some depth to it.
 |
But let's be honest, there's an issue on curved surfaces, like a drum shell. If you apply a little too much and that it starts dripping down, the dripping marks will cure hard in a minute. That's what happened here and there.
I had to sand them off using 400 grit with water.
 |
| Bottom-right, you see the sanded area. |
 |
| At some point, you might think that you screwed up your work. Sanding paste turns green, ouch, what am I doing? But giving up is no option. |
 |
At this point, I had to think it over. Building up thicker layers of shellac sounds good, but avoiding dripping or overlapping marks is very hard. I definitely have to find a more controllable way to apply shellac and avoid excessive sanding. Read on the next article my experiments with what I will call half baked French polishing.
 |
| Some late night tryout of what looks like the right thing to do |


